If you’ve been thinking about adding an ADU (Accessory Dwelling Unit) to your property, you might be wondering what the process actually looks like. At MEKA, we’ve streamlined it into a clear step-by-step path so you know exactly what to expect—from picking your model to move-in day.
Step 1 — Choose Your Model (and Tweak the Floor Plan)
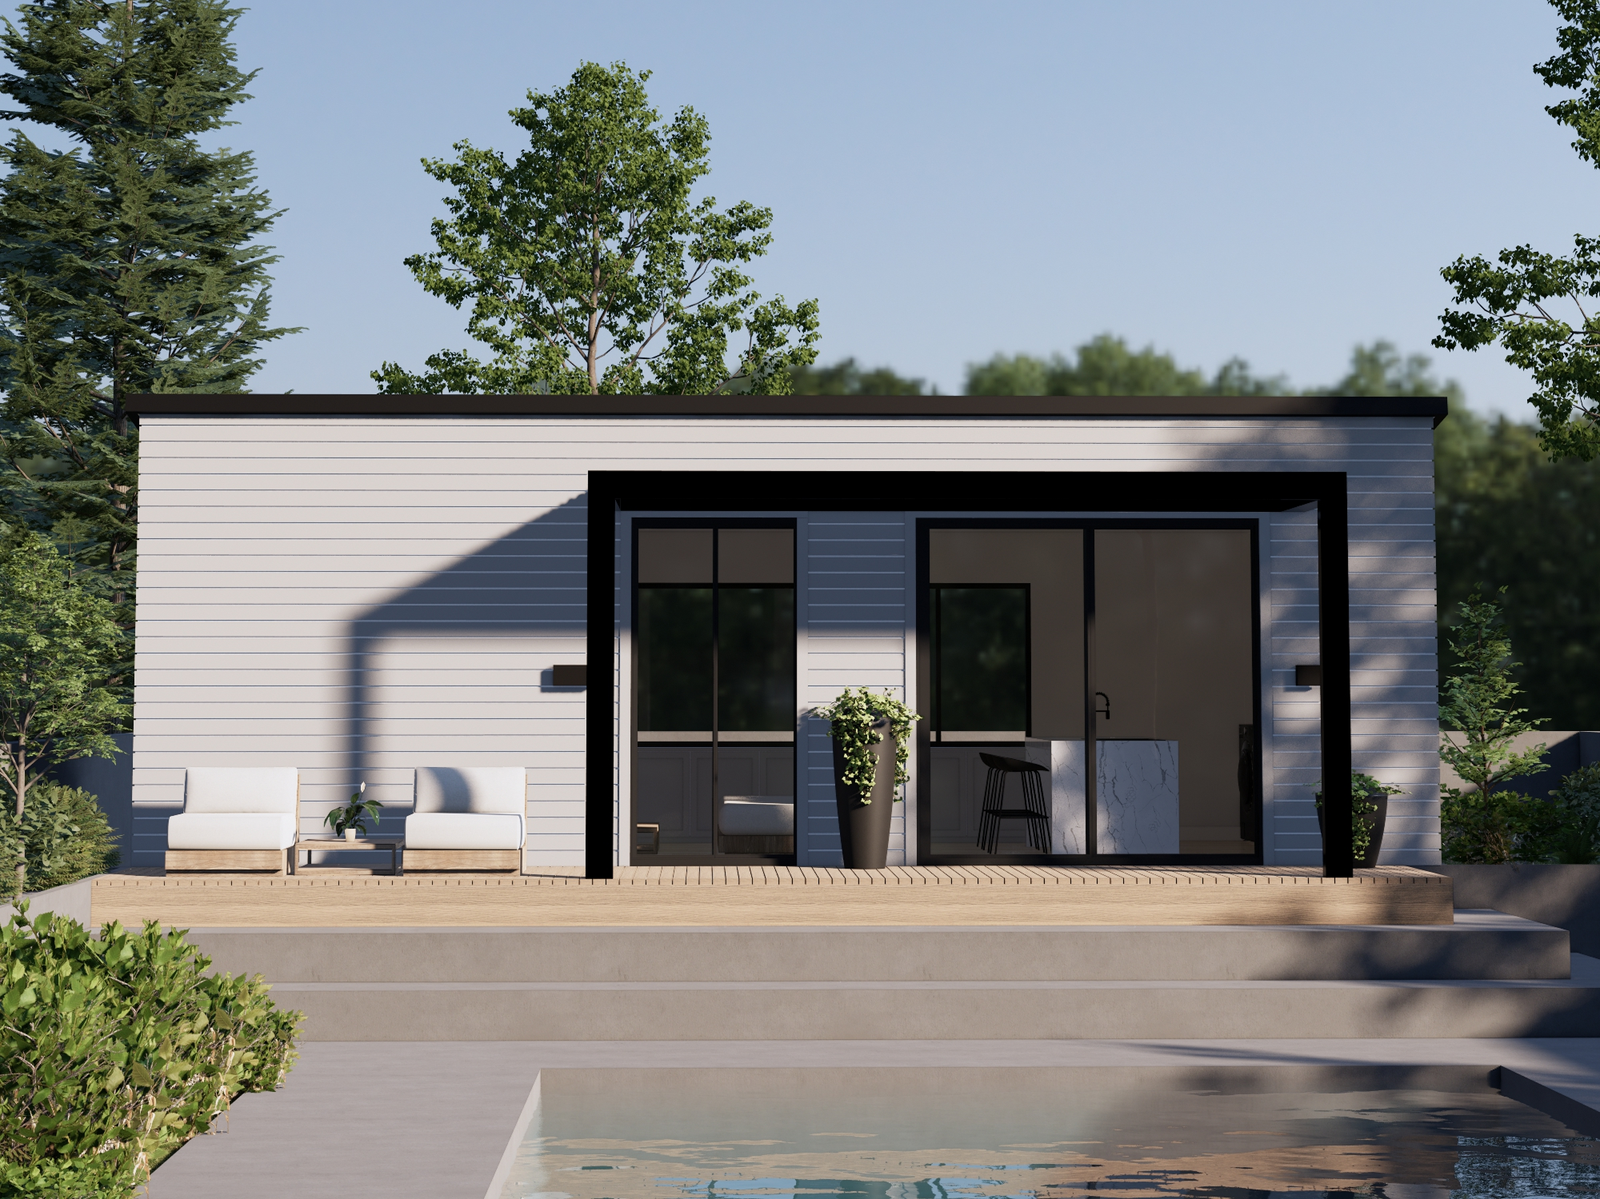
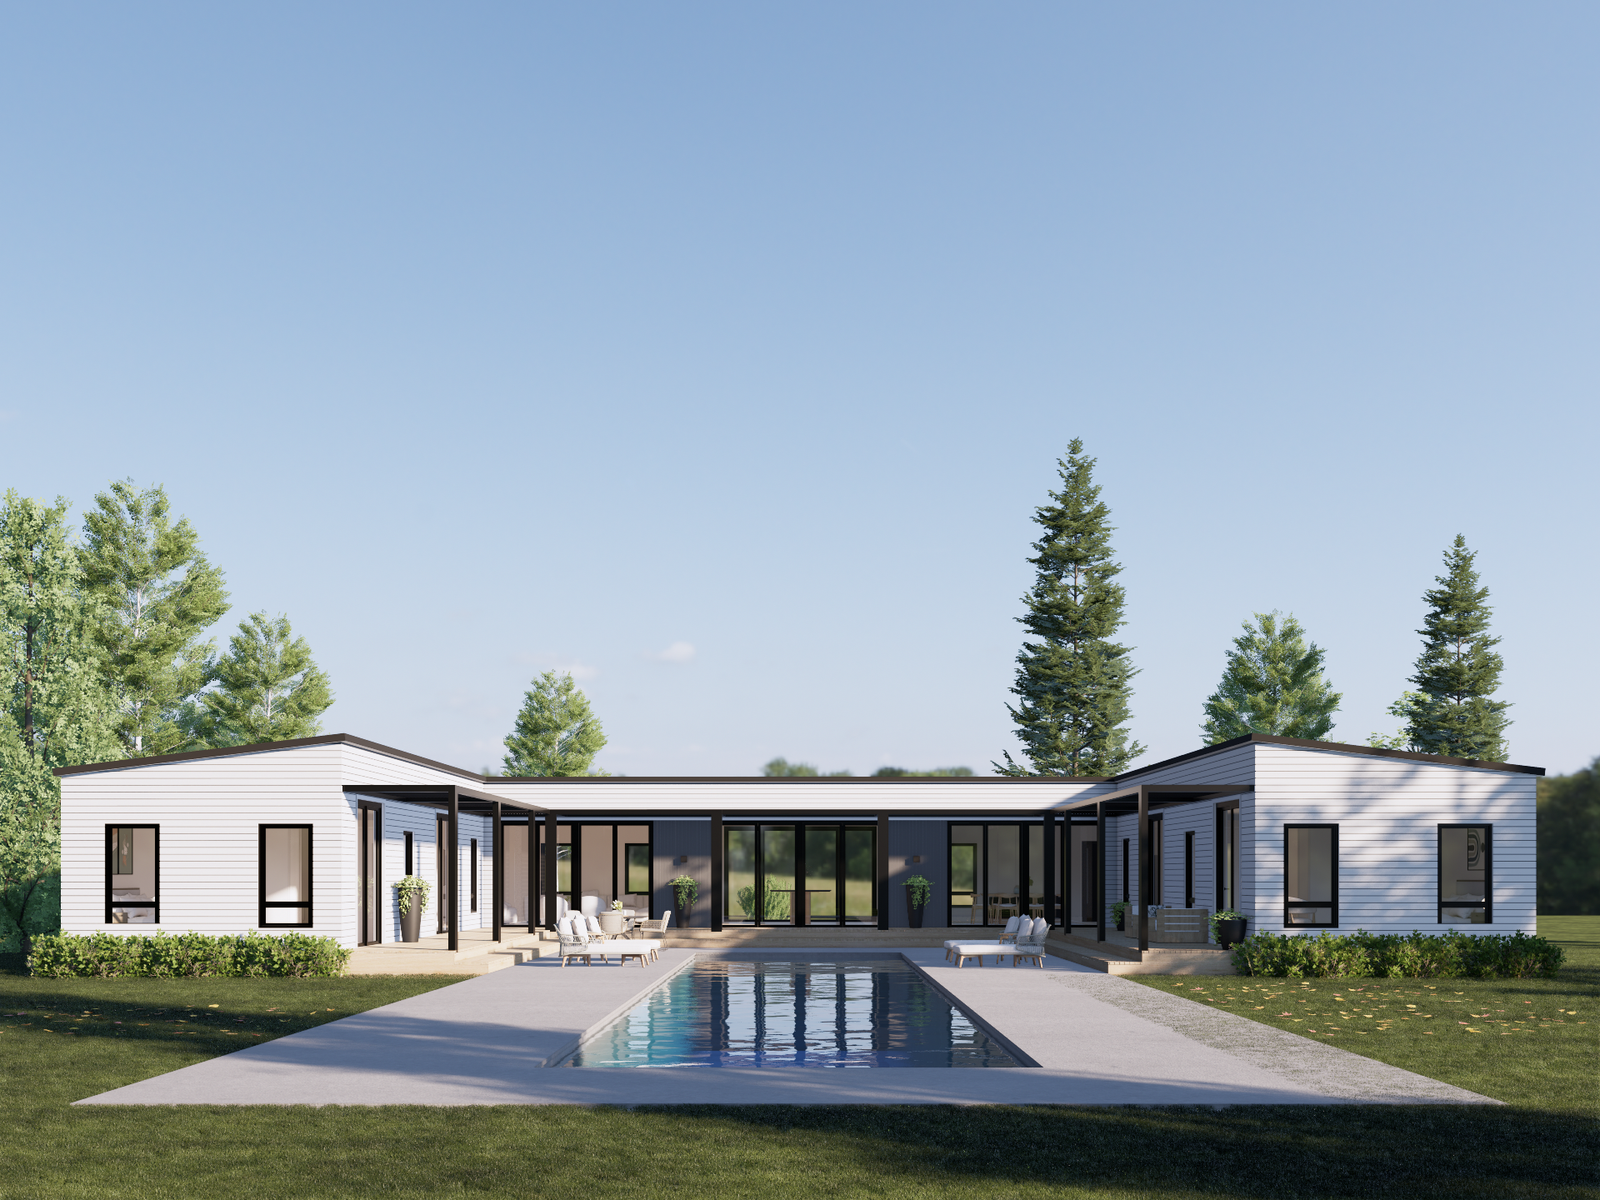
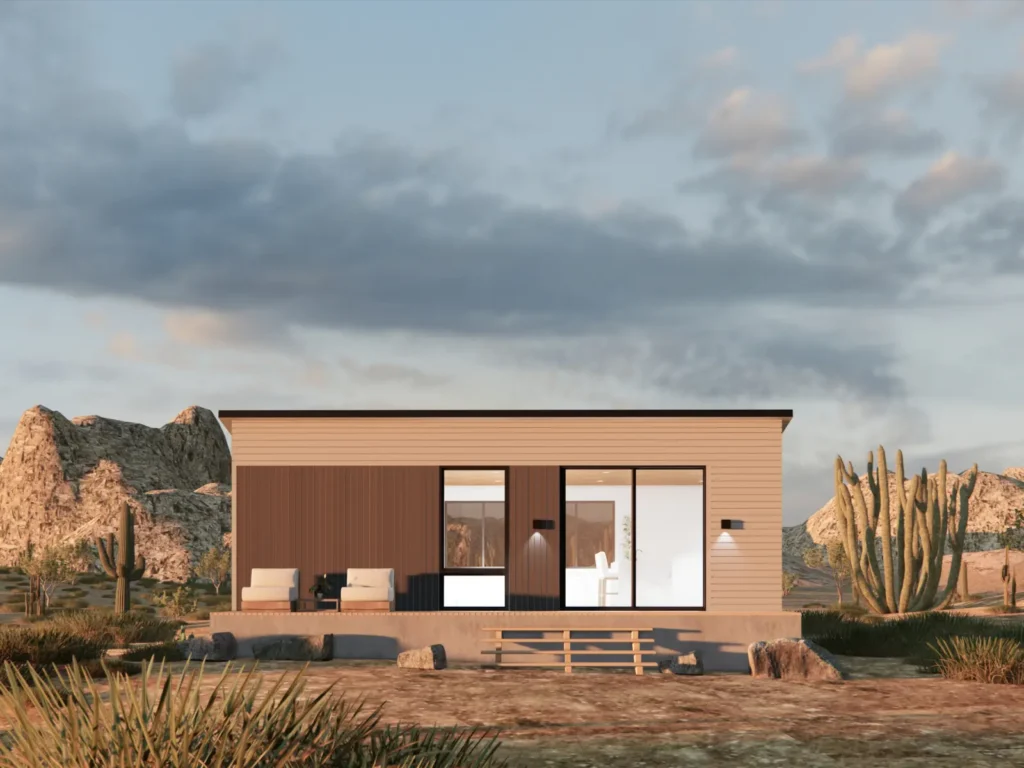
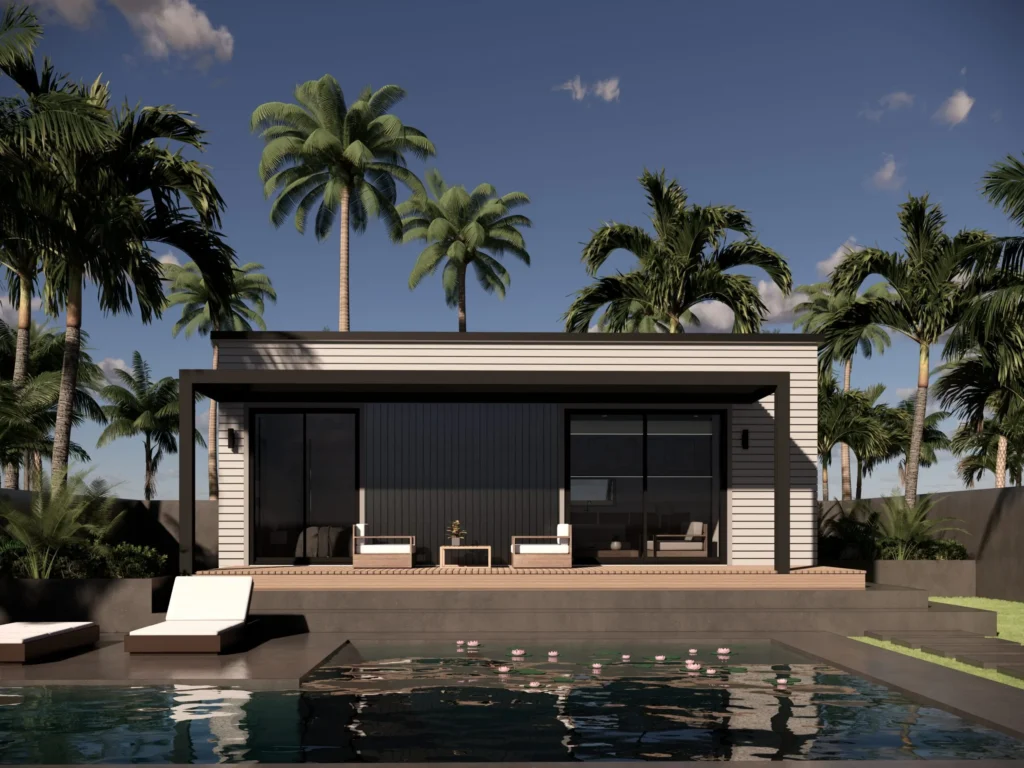
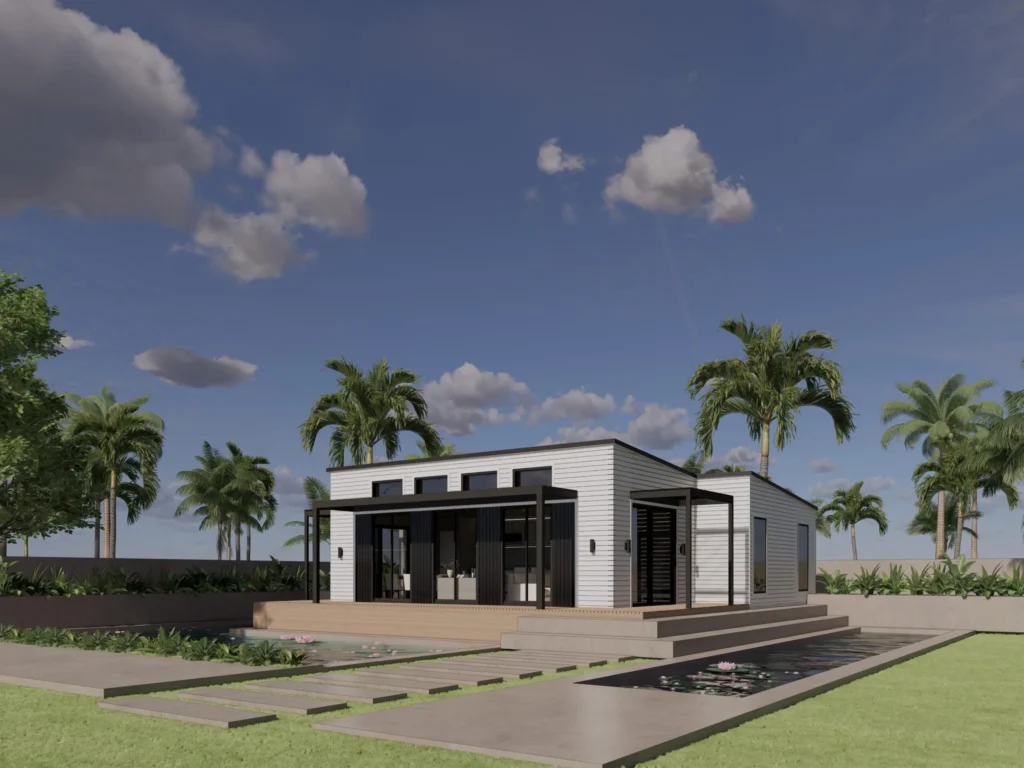
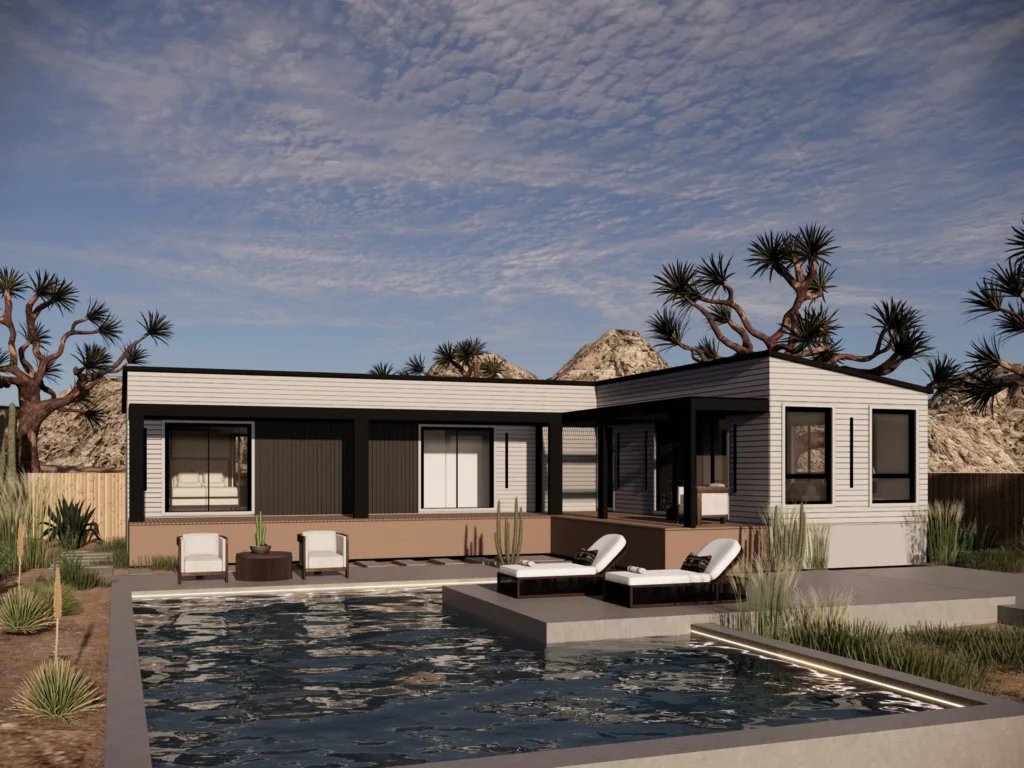
Start by exploring our models, like the Napa 600 or Navajo 1200. Each is designed for California living, but we often make small adjustments to better fit your lot. That might mean tweaking the floor plan to meet local rules on lot coverage, setbacks, or height restrictions.
A simple shift in layout can make permitting smoother and maximize your property’s value.
Step 2 — Pick Your Finishes (Decks & Pergolas Are Optional)
Once you’ve selected a model, it’s time to choose finishes from our catalog—exterior cladding, windows, cabinets, flooring, and fixtures.
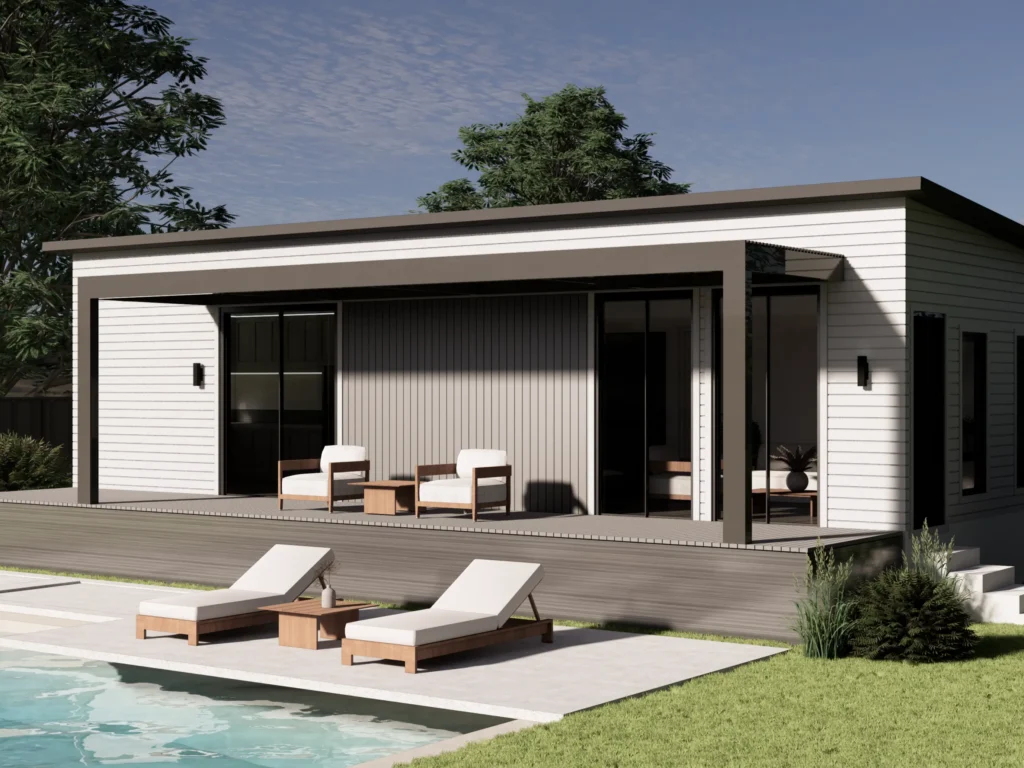
And don’t worry—decks and pergolas are optional upgrades. They’re not included in the base price and can be added later if you prefer.
Step 3 — Project Verification: The First Step Toward Your Permit
Project Verification is the critical first step on the path to your building permit. It ensures your project is designed to fit your property and ready for submission to your local planning department.
This process usually takes 7–10 days and includes:
• A site plan and elevations tailored to your property
• Preliminary routing for water, sewer, and electrical connections
• Foundation recommendations (slab, piers, or other)
• A detailed line-item budget (factory build + site work + crane + delivery)
• A lender-ready package so your bank knows what they’re underwriting
By the end of Project Verification, you’ll know exactly what you’re committing to, and you’ll have everything you need to move toward permits and financing.
Step 4 — Engineering & Construction Documents
Next comes the detailed engineering:
• Foundation engineering specific to your lot (slope, soils, loads)
• Module structural engineering
• Full mechanical, electrical, and plumbing (MEP) plans
This is the technical backbone that makes your project permit-ready.
Step 5 — Permitting (Trackable Online)
With Project Verification and engineering in hand, we submit your plans to the city or county. You can follow the status through the permit portal, and we’ll notify you as soon as your permit is issued.
Timelines vary depending on how busy your jurisdiction is.
Step 6 — Contracts & Deposits
Two contracts move the project forward:
1. Factory contract (modules): 50% deposit when you place the order, 50% upon completion in our Southern California plant.
2. Construction contract (site scope): Covers foundation, trenching, crane, set, and final on-site finish work.
Step 7 — Factory Build (Predictable Pricing)
Your unit(s) are built in a controlled factory environment, which means pricing is accurate and stable. Unlike site work, there are fewer surprises once your module is in production.
Step 8 — Site Work & Access Prep
While your home is being built in the factory, we prepare your property:
• Foundation construction
• Utility trenching and stubs
• Clearing shrubs or fencing for truck and crane access
• Crane lift planning (sometimes even lifting over an existing home)
Step 9 — Delivery & Crane Set (Usually One Day)
Delivery day is the exciting part. Your module(s) arrive by truck and are lifted by crane onto the foundation—often in just one day. Neighbors usually stop to watch.
Step 10 — Final Fit-Out & Handoff
We complete all the finishing touches:
• Seamless drywall where modules connect
• Final utility hookups
• Optional decks and pergolas
• Inspections and approvals
Depending on your project, this last step usually takes anywhere from a few days to a couple of weeks.
About Pricing (“Starting At” vs. Final Cost)
Prices on our website are “starting at” because site conditions can change the total. Factors include:
• Lot slope and soil conditions
• Crane size (simple backyard lift vs. “over-the-house” set)
• Utility distances and panel upgrades
• Access (narrow streets, brush clearing, staging space)
• Local jurisdiction fees
• Optional features like decks and pergolas
The good news? After Project Verification, you’ll know your total cost with no surprises.
Typical Timeline
Project Verification: 7–10 days
• Engineering: 3–6 weeks
• Permitting: 1–4 months (jurisdiction-dependent)
• Factory build: 8–12 weeks
• Delivery & finish: 1 day for crane set + a few days to 2 weeks for fit-out
FAQs
What is Project Verification?
It’s the first step toward your permit. In just 7–10 days, you’ll receive your site plan, elevations, budget, and lender-ready documentation.
Are decks and pergolas included?
No—they’re optional. You can add them during design or later.
Why does site work vary more than factory cost?
Because it depends on your lot (slope, access, utilities, crane size, and fees).
How fast can I move in?
From Project Verification to completion, timelines vary by city and scope, but many projects are done in just a few months once permitting is secured.
Ready to Start?
The best first step is Project Verification. In just 7–10 days you’ll have:
• A clear site plan and design
• A full budget tailored to your property
• A lender-ready package for financing
• The foundation to move into permitting with confidence

